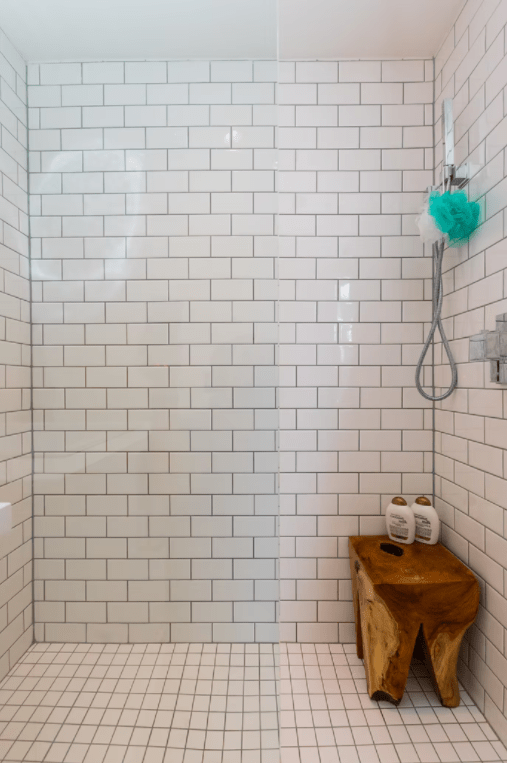
Grout lines decide if your tiles look dazzling or drab. Being a porous substance, grouts often absorb all kinds of grime and dirt, turning into a nasty shade. While different rooms have different sources of contamination of grouts, in bathrooms, moisture and soap and shampoo splatters are the culprits. Therefore, when handling a complete house cleaning, you need to pay special attention to grout lines.
While you have a tile and grout cleaning machine for home use and professional use to help you out, here are 6 effective tips for you.
1. Clean the tiles
Most tile types only require a mix of dishwashing soap and water. Once you spray the mix on the tile, use a damp microfiber cloth to wipe down the surface. With this simple step, you can easily get clean tiles without much effort. While a common recommendation you may get is using a diluted solution of vinegar, it can be too strong and acidic for your grout and tiles, damaging and weakening them.
2. Steam to scrub
The first step only works on tiles that have been regularly cleaned. When it comes to neglected bathroom tiles, you need a stronger approach as you will be dealing with surface dirt and soap scum residue. While harder to clean, it is not an impossible task. All you need to do is spray some surface cleaner and buildup steam in the room by cranking the hot water for a few minutes. Let the surface get steamed for 20 minutes and then wipe it clean with a cloth.
3. Scrub the grouts
The next step is to focus on the grout lines. These are infamous for getting dirty with their porous nature. While newer grout mixes are made of latex and other polymers for increased stain resistance, you will still need to work hard to remove the grime. Start by spraying hot water on the surface and scrubbing with a brush. Alternatively, you can use a steam cleaner to apply steam directly to the surface and then scrub in a circular motion using a brush.
4. Bye stubborn grout stains
Some stubborn grout stains need more elbow grease and steam or water just won’t do the thick. In such cases, you can go for a pH-neutral cleaner and a brush and get scrubbing again. If you can’t find a neutral cleaner, always choose alkaline cleaners over-acidic to avoid weakening the grout. Even if it’s alkaline, it’s always best to try the cleaner on an inconspicuous part of tiles to see if there’s any discolouration.
5. Eliminate mould growth
You are most likely to find mildew and mould growth in bathrooms with all the moisture and water. While bleach is more than enough to remove mould from tiles and other non-porous surfaces, porous surfaces like grout are a different story. Therefore, get a mould and mildew stain remover and use it to remove the growth.
6. Seal the grouts
Finally, the grouts need to be sealed. Sealing the grouts keeps them protected and prevents any further staining and mould growth, leaving your clients happy and satisfied with your work. However, this step will need you to wait at least 24 hours if you have deep scrubbed the tiles to ensure the surface is completely dry.
Conclusion
Grouts can make or break your tile’s aesthetic appeal. Therefore, cleaning these regularly is in the best interests of homeowners and even you, the cleaner, as deeply seated grime can be hard to remove otherwise. That said, the tips given above can simplify the entire process of cleaning the tiles and grout lines significantly.


