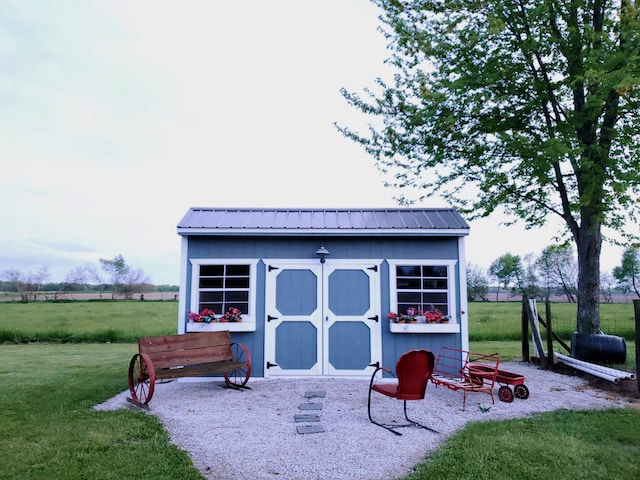
Are you someone who loves spending time outdoors, but often find yourself wishing for more functional and organized outdoor spaces? If yes, then building a shed could be the perfect solution for you. And what’s even better is that with DIY shed kits, you can easily transform your outdoor space into a functional and stylish retreat without breaking the bank.
Why Choose DIY Shed Kits?
Before we dive into the details of how to transform your outdoor space with a wood shed kit, let’s first understand why using a DIY shed kit is a great option. First and foremost, these kits come with all the necessary materials and instructions needed to build a shed from scratch. This means you don’t have to worry about measuring and cutting wood or figuring out complicated construction plans. The materials in the kits are also pre-cut, labeled, and ready to assemble, making the entire process much simpler and time-efficient.
Another advantage of using a DIY shed kit is the cost. Building a shed from scratch can be expensive, especially when you factor in purchasing tools, materials, and hiring professional help. With a DIY shed kit, you can save on both labor and material costs as the kits are designed to be assembled by the homeowner.
Moreover, DIY shed kits come in various sizes and styles, allowing you to choose one that best fits your needs and preferences. You can also customize the shed with additional features such as skylights, windows, or shelves according to your specific requirements, making it truly personalized.
Transforming Your Outdoor Space with a Wood Shed Kit
Now that we’ve established the benefits of DIY shed kits let’s discuss how you can use them to transform your outdoor space into a functional retreat. The process is relatively simple and can be completed in just a few steps.
Step 1: Choose the Location
The first thing to consider when building a shed is the location. You want to choose an area that is easily accessible and has a level base for the shed’s foundation. It’s also essential to check local building codes and regulations before deciding on a spot.
Step 2: Prepare the Base
Most DIY shed kits come with a floor frame, which acts as the foundation for the shed. However, it’s recommended to build a solid base using either concrete or pressure-treated wood. This will provide a sturdy and stable platform for your shed.
Step 3: Assemble the Shed
Once you have the location and base prepared, it’s time to assemble the shed. Most DIY shed kits come with detailed instructions that make the process easy to follow. The key is to take your time, read the instructions carefully, and double-check each step to ensure everything is in place.
Step 4: Add Personalized Features
After the shed is assembled, you can add personalized features such as windows, doors, shelves, or hooks according to your needs. This will not only make the shed more functional but also add a personal touch to it.
Tips for Maintaining Your Shed
To ensure your shed stays in top condition, there are a few maintenance tips you should follow. Regularly check for any signs of damage, such as leaks or cracks, and fix them immediately. It’s also essential to keep the shed clean and organized, especially if you plan on using it to store tools or equipment. Additionally, consider adding a coat of sealant to protect the wood from weathering and extend its lifespan.
In conclusion, DIY shed kits are an excellent option for transforming your outdoor space into a functional retreat without breaking the bank. They offer convenience, cost-effectiveness, and customization options, making them a popular choice among homeowners. So next time you find yourself wishing for a more organized and functional outdoor space, consider investing in a DIY shed kit and see the transformation for yourself! So why not start planning your own DIY wood shed kit project today? With these easy-to-assemble kits, you’ll have your dream outdoor retreat in no time. Happy building!


