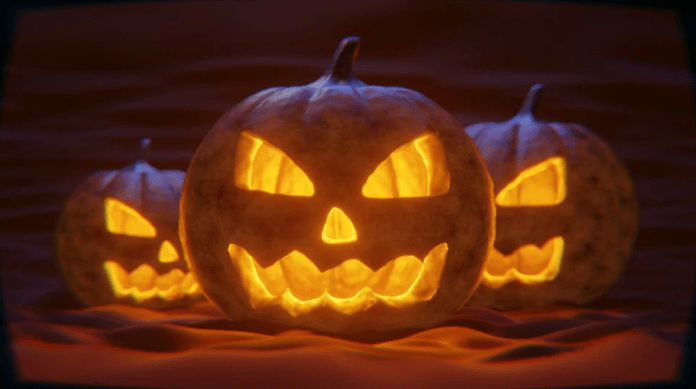
Halloween is almost upon us, and many of us are already using it as an excuse to eat plenty of sweets and binge watch our favorite horror classics.
One aspect of celebrating Halloween that is always super fun is carving a pumpkin. Whether you display it inside your home or even in the office, a pumpkin can be a super fun way to celebrate the season and carving one is a great activity for a Sunday afternoon!
Whether you want to make your office at Rockwell Legal Group look spooktacular for the season, or you simply want to keep the kids busy on a rainy day – here is how you can carve a pumpkin for Halloween.
Today we are going to take you through the simple steps you can take to carve the perfect pumpkin for your celebrations.
Gather your tools
The first thing you will need to do when it comes to carving your pumpkin for Halloween is find the right tools to use. Many supermarkets will be selling pumpkin carving kits right now and they will typically include a small saw, a puncher, and a scoop. If you have these things already at home, even better!
Find a great design
One of the hardest parts of carving your pumpkin for Halloween is deciding on what you want to carve. It can be a difficult decision to choose a great design – and there are many great places such as Pinterest that will provide you with amazing inspiration. You can go for a classic Jack o lantern look, get inspired by your favourite Halloween movie, or go completely unique and fun. You decide!
Empty your pumpkin
Now you have your design, it is time to empty your pumpkin ready for carving. Cut off the top of your pumpkin in a star shape and then start using your scoop to get rid of the seeds as well as some of the flesh. You need the flesh to be fairly thin at this point because it will make it much easier for you to carve through your pumpkin.
Puncture your pumpkin
Once the pumpkin is ready to go – you need to lay out your design so that you can carve it. One way to do this is by using a sharpie, or you can stick a piece of paper with the stencil onto your pumpkin. Once your design is on, use the puncher to poke holes through every centimetre to start carving your design. This is a time consuming bit but it is a super important step you don’t want to miss.
Get carving
Once you have punctured the design you can use your small saw or a craft knife and carve out the design. Take this step slowly because it is very easy for your hand to slip and for your scary face to be missing a tooth or two!
Add some light
Lighting is an important part of your pumpkin carving process and this will be what truly makes your pumpkin look amazing in display. Use a regular tea light or invest in a couple of LED candles that won’t burn your pumpkin throughout the season.
Enjoy your pumpkin carving session and make your home look like a Halloween wonderland this year.


